
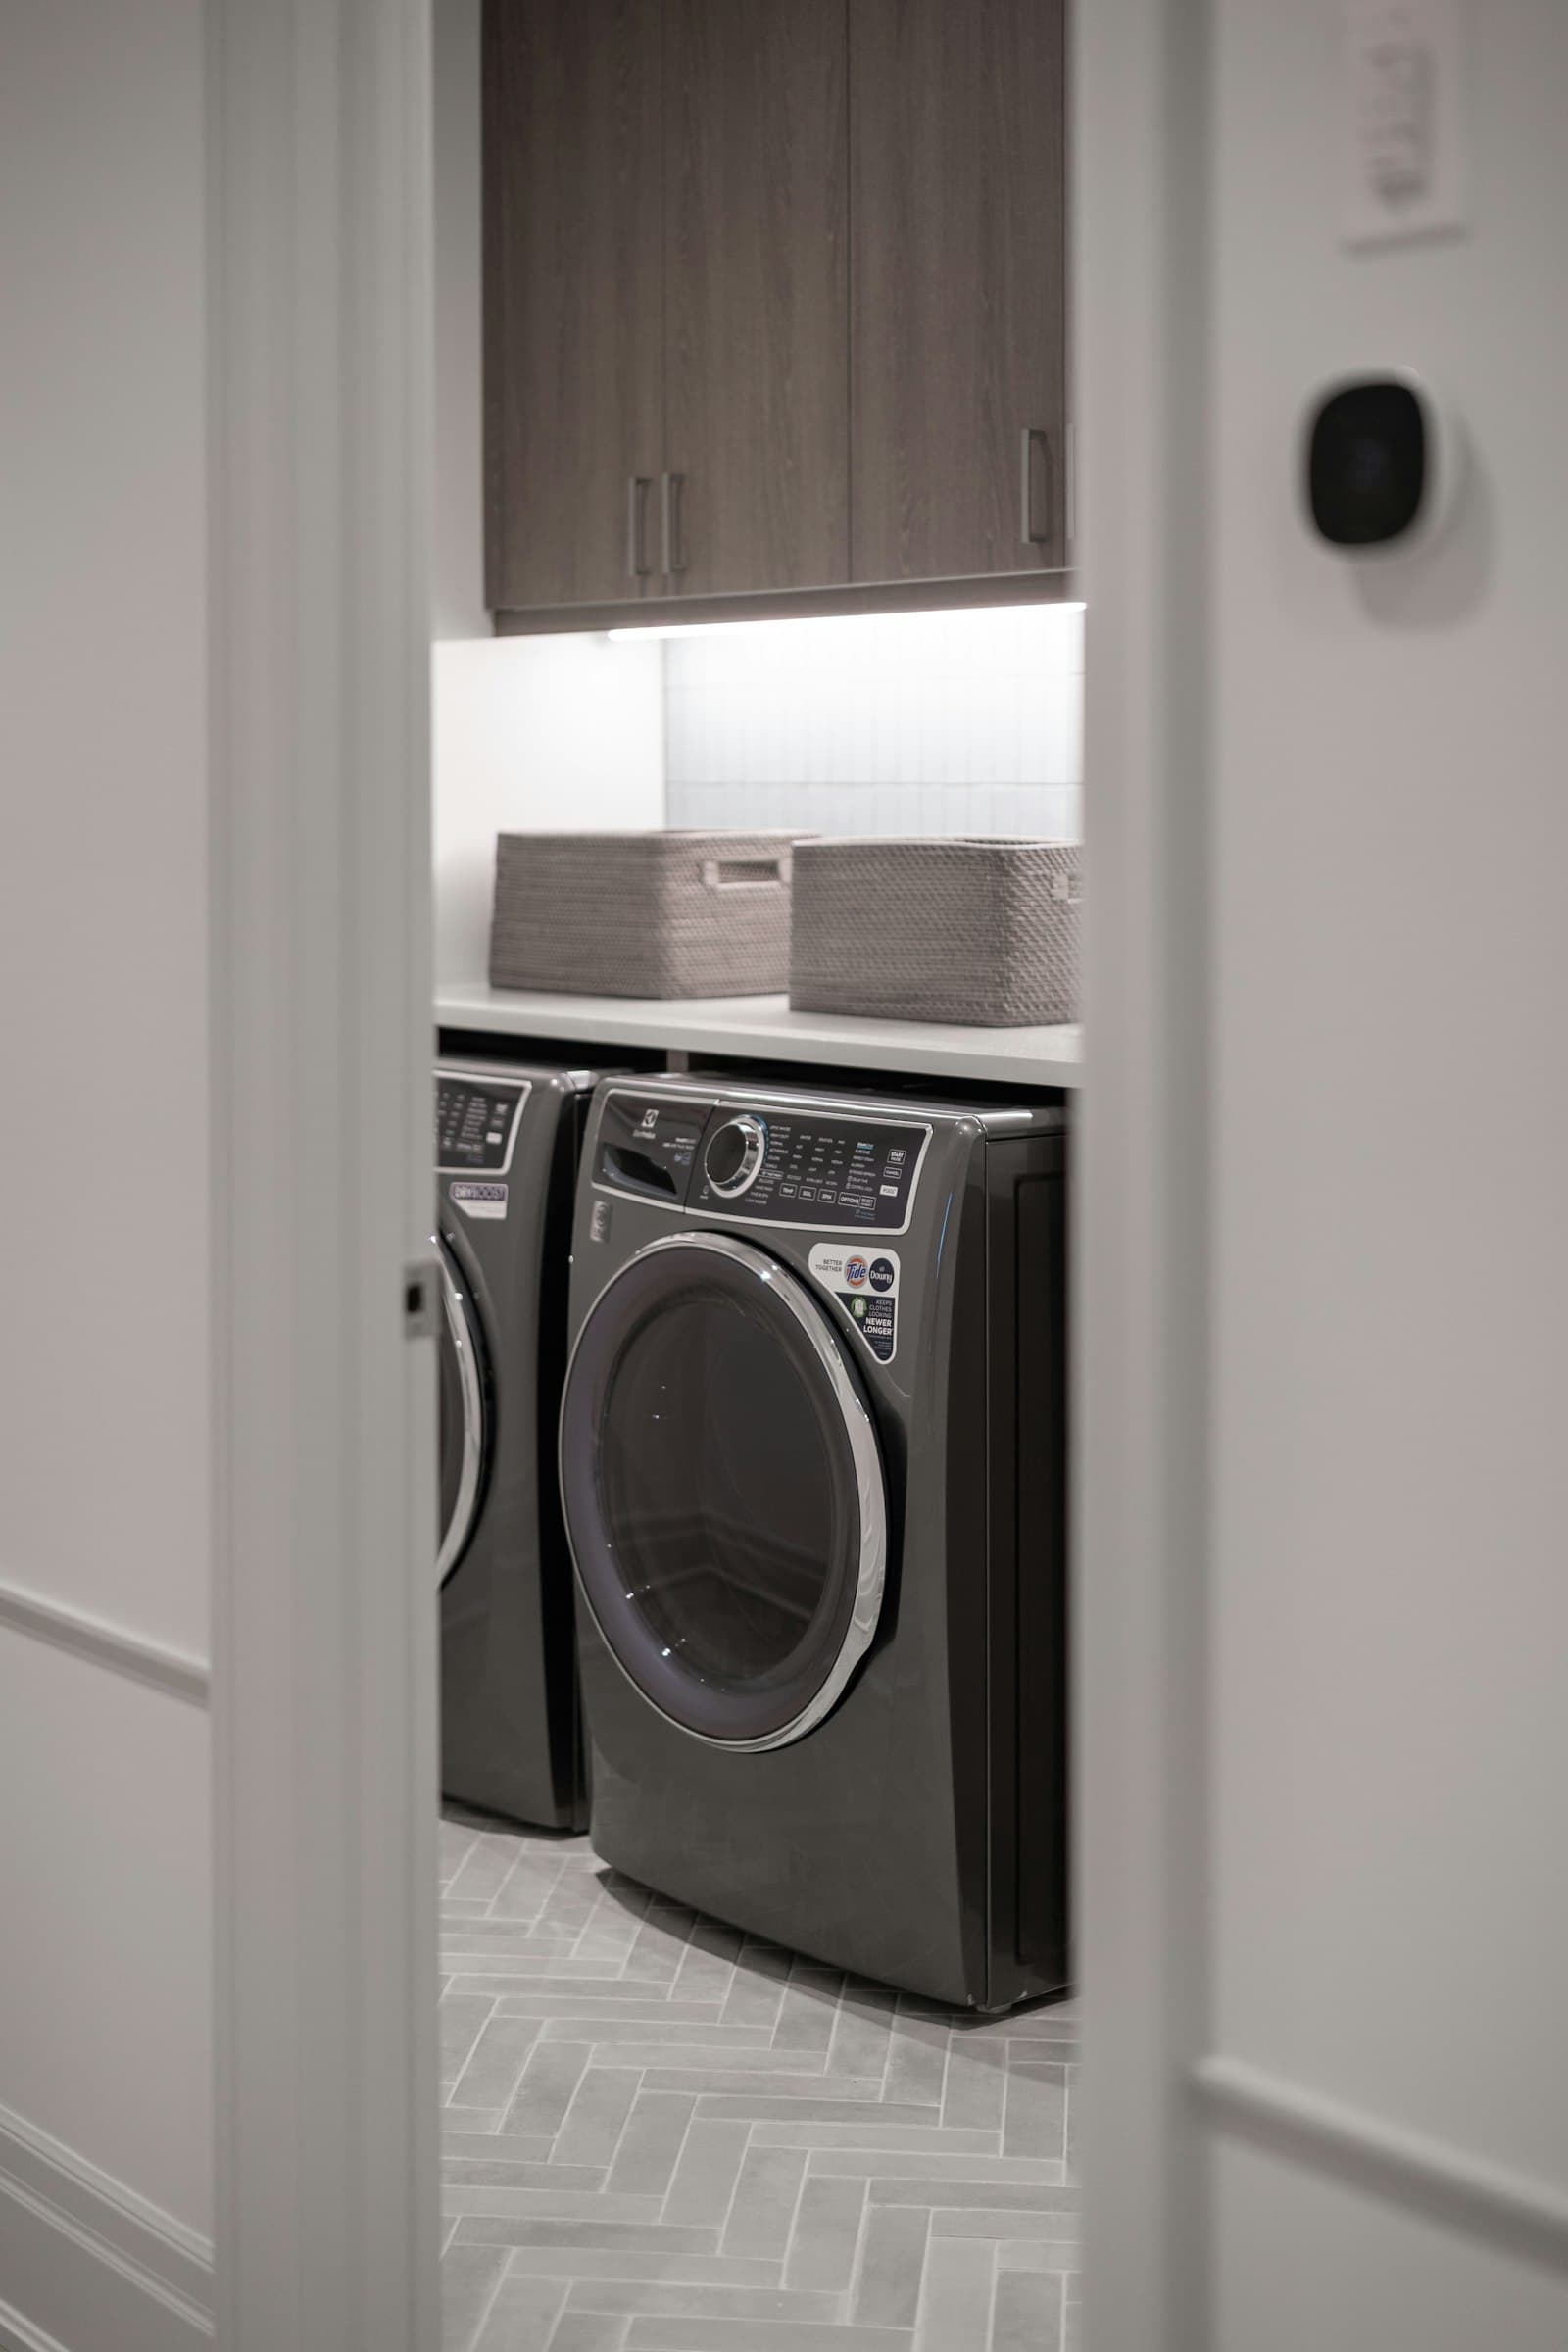
Your dryer gets hot and runs the full cycle, but clothes still come out damp and need a second or third run. Here's why airflow is almost always the first thing to check.
Quick Diagnosis
The dryer heats and runs a complete cycle, but clothes are still damp at the end and routinely need a second or third run to finish.
Clean the lint filter, then start a heat cycle and go outside to feel the airflow at the exterior vent hood.
A strong, steady push of warm air means the exhaust path is likely clear; a weak trickle or barely-moving hood flap means something downstream is restricted.
Because the dryer is heating at all, the thermal fuse hasn't cut the heat circuit — the problem is usually the volume of air moving through the system, not the presence of heat itself.
Check the vent hose for kinks, inspect the duct for built-up lint beyond the trap, and clean the moisture sensor strips inside the drum.
If the vent hose is hot to the touch, you smell burning, or the cabinet is hot to the touch, stop and call for service.
What Can Cause This Problem?
Lint buildup inside the duct, not just the trap
Lint that gets past the filter accumulates gradually along the entire vent run over months. It narrows the effective diameter of the duct, so even a clean filter and an open hood can still leave the dryer starved for exhaust volume.
Crushed or kinked flexible vent hose
A flexible foil hose pushed flat against the wall when the dryer is slid back reduces airflow at exactly the point where the exhaust needs to move the most moisture-laden air. This is one of the most common reasons a dryer that used to finish in one cycle suddenly needs two.
Long vent run with too many elbows
Every foot of duct and every 90-degree turn adds resistance the dryer has to push air against. A run that's longer than the manufacturer's rated maximum, or one with several tight turns, can leave a perfectly functioning dryer unable to exhaust moist air fast enough.
Exterior vent hood flap stuck or obstructed
Debris, built-up lint, or even a bird's nest at the exterior hood can partially block the flap from opening fully. Air backs up the entire duct behind it even though the blockage is only at the very end.
Oversized or overloaded loads
A load that's too large for the drum, or a load of heavy items like towels and bedding, needs more airflow and time than a normal mixed load. This isn't a malfunction, but it produces the exact same complaint.
Coated or dirty moisture sensor strips
Most dryers use metal sensor bars inside the drum to detect when clothes are dry and end the cycle. A coating of fabric softener or dryer sheet residue on those bars can cause the sensor to misread moisture level, sometimes ending cycles too early so clothes feel damp, or running longer than needed on an inconsistent basis.
Reduced airflow volume from the blower wheel
The blower wheel pushes exhaust air through the whole system. A cracked wheel, one partially packed with lint and debris, or a wheel that's loose on the motor shaft can reduce total airflow even when the duct itself is clear — this requires opening the cabinet to inspect.
What to Check First
Lint filter condition
SAFE FOR MOST HOMEOWNERS- How to check it
- Remove and inspect the filter before running a test load.
- What the result may mean
- A coated filter restricts airflow even when it looks clean, and it's the fastest thing to rule out.
- Normal
- Filter is fully clear after cleaning, no lingering residue film.
- Abnormal
- Filter feels waxy or coated even after removing visible lint.
Airflow at the exterior vent hood
SAFE FOR MOST HOMEOWNERS- How to check it
- Run a heat cycle and check airflow at the exterior hood, same as you would for a no-heat complaint.
- What the result may mean
- For a dryer that heats but underperforms, this is the single most useful check — it tells you whether the problem is volume of airflow rather than the heat source.
- Normal
- Strong, steady stream of warm air.
- Abnormal
- Weak trickle, or the hood flap barely opens.
Vent hose for kinks or crushing
SAFE FOR MOST HOMEOWNERS- How to check it
- Pull the dryer out (unplugged) and examine the flexible hose along its full length.
- What the result may mean
- Even a small crushed section can cut the effective airflow substantially.
- Normal
- Smooth path with gentle curves, no flattened sections.
- Abnormal
- Crushed flat against the wall, or a sharp fold near the connection point.
Vent run length and elbow count
SAFE FOR MOST HOMEOWNERS- How to check it
- Trace the duct path from the dryer to the exterior wall and count turns.
- What the result may mean
- Long runs with several elbows may need a rigid duct upgrade or professional airflow assessment even with no visible blockage.
- Normal
- A relatively short, mostly straight run matching the manufacturer's maximum length rating.
- Abnormal
- A long run through multiple turns, especially in a laundry closet or upstairs installation.
Moisture sensor bar condition
SAFE FOR MOST HOMEOWNERS- How to check it
- Open the dryer door and locate the metal sensor strips, usually along the front of the drum opening.
- What the result may mean
- A coated sensor can misjudge dryness, leading to inconsistent cycle length independent of airflow.
- Normal
- Bare, slightly dull metal.
- Abnormal
- A shiny or waxy film coating the strips.
Load size relative to capacity
SAFE FOR MOST HOMEOWNERS- How to check it
- Compare the load you're running to roughly half the drum's volume when loosely filled.
- What the result may mean
- An overloaded drum restricts internal air circulation around the clothes themselves, extending dry time regardless of vent condition.
- Normal
- Items tumble freely with visible room to move.
- Abnormal
- Drum is packed tight, items barely move when tumbling.
Heat presence during the cycle
SAFE FOR MOST HOMEOWNERS- How to check it
- Carefully check for warm air near the open door partway through a cycle without touching hot metal.
- What the result may mean
- Confirms whether this is a pure airflow problem or a combination of reduced heat output and airflow.
- Normal
- Clearly warm air and warm clothes partway through.
- Abnormal
- Little noticeable heat, suggesting a heating performance issue layered on top of an airflow issue.
Blower wheel condition
ADVANCED — BETTER FOR A TECHNICIAN- How to check it
- Requires removing the front or rear panel and accessing the blower housing near the motor.
- What the result may mean
- If every safe check above comes back normal and drying is still consistently slow, a restricted or damaged blower wheel becomes a reasonable next step for a technician to check.
- Normal
- N/A
- Abnormal
- N/A
Step-by-Step Checks
1. Clean the lint filter and run a small test load
Fully clean the filter, including a warm-water rinse if it feels coated, then run a smaller-than-usual load of similar items (like just towels, or just a mixed load) so you have a clean baseline to compare against.
2. Test airflow at the exterior vent hood
During that test cycle, go outside and check the exterior vent hood. You should feel a strong, steady push of warm air and see the flap open fully. Note whether it's strong, weak, or barely there — this determines your next step.
3. Disconnect the hose and vacuum the duct
Unplug the dryer, pull it out, and disconnect the flexible hose at the back. Look and feel inside for a lint plug, and vacuum out what you can reach from both the dryer side and the wall side. Replace a crushed or overly long flexible foil hose with rigid or semi-rigid metal duct, and minimize unnecessary bends when you reconnect it.
4. Clean the moisture sensor bars
With the dryer off, wipe the metal sensor strips inside the drum opening with a cloth lightly dampened in rubbing alcohol until the shine or waxy film is gone. This is a two-minute job that's often overlooked.
5. Split oversized loads
If you regularly dry large loads of towels, bedding, or a full week's laundry in one go, try splitting it into two more moderate loads for a few cycles and compare total dry time against running it all at once.
6. Run one full-size load and time it against the norm
After the airflow and sensor fixes, run a normal-sized load and time how long it takes to fully dry. Compare that to how long the same type of load used to take. A return to normal drying time confirms airflow was the cause.
Look, Listen, Observe
look
- A lint plug found when the vent hose is disconnected — Confirms restriction inside the duct beyond what the trap alone catches.
- The exterior hood flap stuck partially closed or clogged with debris — A blockage right at the exhaust point backs up airflow through the entire duct.
- A shiny or waxy coating on the moisture sensor bars — Can cause inconsistent cycle timing independent of actual airflow.
- A long duct run with three or more 90-degree turns — Adds cumulative resistance that can slow drying even without any visible clog.
listen
- The blower motor pitch seems to strain or change under load — Worth mentioning to a technician — can indicate a partially restricted or damaged blower wheel.
observe
- The vent hose feels noticeably warm to the touch mid-cycle, not hot — Generally expected — moist exhaust air is warm. Hot-to-the-touch is a different, more serious signal covered under When to Stop.
- Drying time has crept up gradually over months rather than changing suddenly — Points toward gradual lint accumulation in the duct rather than a single new blockage.
- Loads dry fine on their own but the dryer struggles specifically with towels or bedding — May simply be a load-size and airflow-demand issue rather than a fault.
Easy Things You Can Try
- Clean the lint filter before every load — Remove the full lint mat and occasionally rinse the screen to clear residue film.
- Wipe the moisture sensor bars — Use a cloth dampened with rubbing alcohol on the metal strips inside the drum every month or so.
- Clear the exterior vent hood — Remove any debris or lint buildup and confirm the flap swings freely.
- Split oversized loads into two — Especially for towels, bedding, or heavy items — this reduces the airflow and drying demand per cycle.
- Vacuum the first few feet of duct at the wall connection — A quick pass with a shop vac hose clears the section most prone to lint buildup.
Technician Tips
When a dryer heats but still underperforms, that fact alone tells a technician something useful: the heat circuit and thermal fuse are functioning, so the investigation shifts almost entirely to airflow volume rather than the heat source itself. That's a meaningfully different diagnostic path than a no-heat complaint.
As a rule of thumb, every 90-degree elbow in a vent run adds roughly the same resistance as several feet of straight duct — a run that looks short on paper can still be badly restricted if it has multiple tight turns.
A moisture sensor problem tends to produce inconsistent results — fine one load, damp the next with a similar load size — while an airflow restriction tends to produce a slow but fairly consistent pattern across most loads. That difference in consistency is a useful clue before assuming which one it is.
Long vent runs that exceed the manufacturer's rated maximum length sometimes need a specific booster fan solution rather than just a bigger duct — that's a call for a technician familiar with your specific run length and configuration, not a generic fix.
Diagnostic Tricks
- SAFE FOR MOST HOMEOWNERS
Feel the surface temperature of the vent hose partway through a cycle — warm is expected, but if it's uncomfortably hot to hold your hand on, that points toward a significant restriction generating excess heat buildup.
- SAFE FOR MOST HOMEOWNERS
Time a full cycle with the door closed against the clock, and compare it to the same load type from a few months ago if you remember roughly how long it used to take.
- SAFE FOR MOST HOMEOWNERS
Watch the exterior hood flap's movement during a cycle in calm weather — a flap that only cracks open slightly and doesn't hold steady suggests reduced airflow volume even if some air is getting through.
- SAFE FOR MOST HOMEOWNERS
Run one completely empty cycle (no clothes) and time how long it takes the exhaust air to feel strongly warm at the hood — a very slow warm-up can indicate reduced air volume moving through the system even before adding a load.
Error Codes
Many dryers show a code for this on the display. Codes vary significantly by brand and model, so check yours against the manufacturer's manual, or see our [Appliance error code guide](/blog/appliance-error-codes) for commonly documented codes. Appliance error code guide.
Can I Fix This Myself?
Cleaning the lint filter, wiping the moisture sensor bars, checking the exterior vent hood, and adjusting load size are all safe for most homeowners and fix a real share of slow-drying complaints.
Fully disconnecting and vacuuming the vent hose, or replacing a crushed section with rigid duct, is manageable for a confident DIYer but benefits from care with clamps, fit, and reattachment.
Diagnosing a restricted or damaged blower wheel, or reconfiguring a long vent run through walls or ceilings, requires cabinet disassembly or ductwork changes better handled by a technician.
What Not to Do
- Don't respond to repeated damp loads by just running the dryer longer or on higher heat over and over — that treats the symptom while the airflow restriction causing it keeps building.
- Don't extend a vent run beyond the manufacturer's rated maximum length without a properly installed booster fan — an unsupported long run is a common cause of chronic slow drying and can also be a fire-safety concern.
- Don't vent the dryer indoors (into a garage, basement, or attic) as a workaround for a difficult exterior run — this pushes lint and moisture into your living space and isn't a safe substitute for a proper exterior vent.
- Don't ignore a vent hose that's hot to the touch mid-cycle, thinking it's just part of normal operation.
When to Stop Troubleshooting
- The vent hose or exterior hood is hot to the touch, not just warm.
- You notice a burning smell during or after a cycle.
- The dryer cabinet itself feels hot on the outside.
- Drying time hasn't improved after cleaning the filter, clearing the vent, and adjusting load size.
- You suspect the blower wheel or a long duct run is the issue and it requires opening the cabinet or reworking ductwork.
Don't Replace Parts Yet
Slow drying is rarely caused by one single part failing outright — it's usually the cumulative effect of a restricted duct, a slightly overloaded drum, a coated moisture sensor, and ordinary wear all adding a few extra minutes each. Replacing a moisture sensor or blower motor before checking airflow often leaves the real cause untouched, since a new sensor in a still-restricted duct will keep producing inconsistent results. Working through airflow first, then load habits, then the sensor, narrows things down accurately — and if it still comes back to something mechanical like the blower wheel, that's a reasonable point to bring in a technician who can confirm it directly.
Frequently Asked Questions
This is very often an airflow problem — a restricted vent duct, a crushed hose, or lint buildup beyond the trap reduces how much moist air the dryer can exhaust per minute, even though it's still heating normally.
Still not sure what's causing the problem?
Professional diagnosis can help identify the actual cause before replacing parts unnecessarily.