
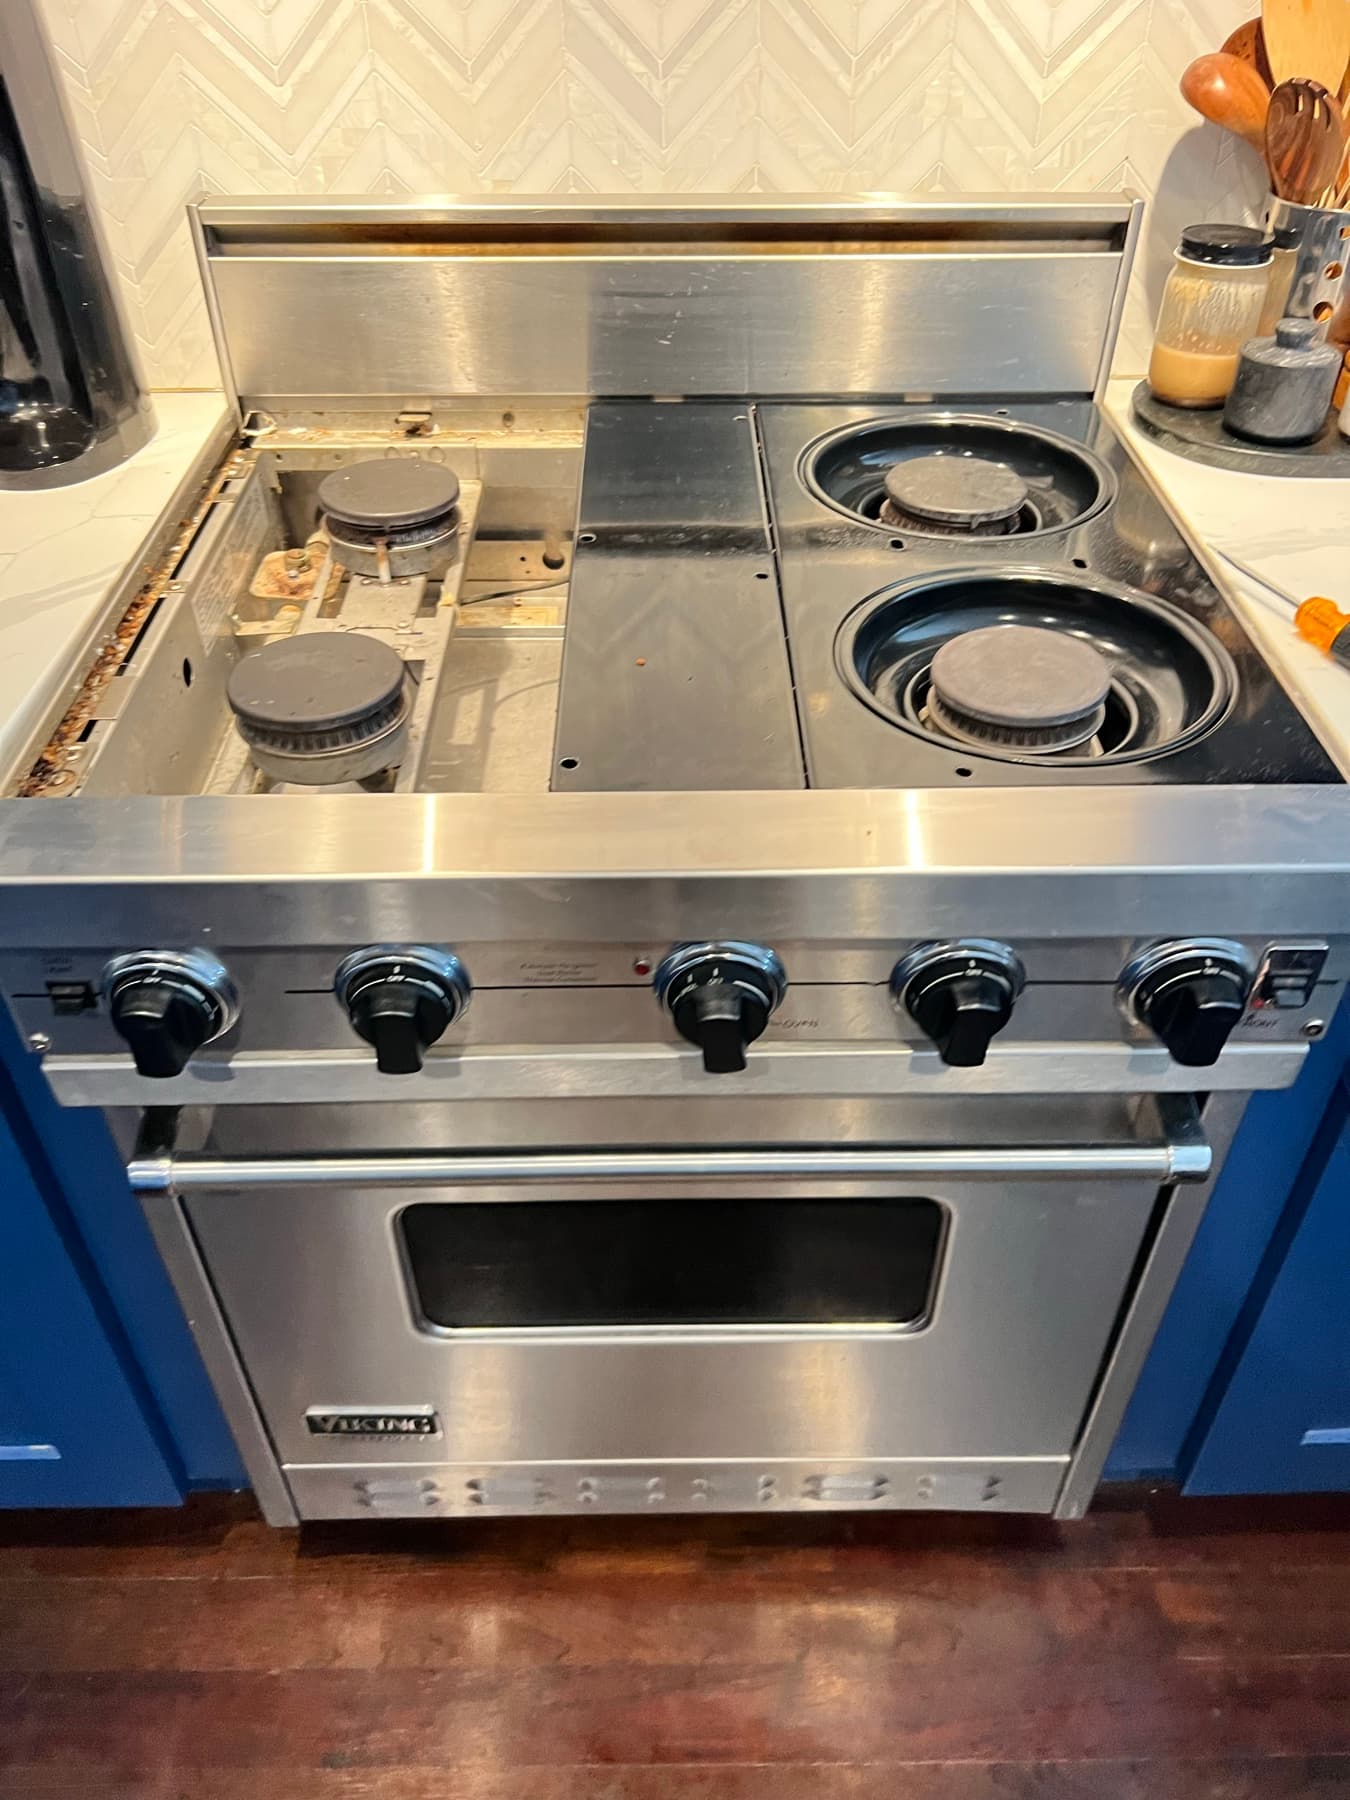
A single burner that won't heat or light usually isolates to that burner specifically rather than the whole range — but electric and gas burners fail for completely different reasons. Here's how to check each safely.
Quick Diagnosis
One burner on the cooktop won't heat (electric) or won't light (gas), while the others work normally.
Is it electric or gas, and is the problem limited to just this one burner or does it affect others too?
On electric, does the element glow at all when the knob is turned up? On gas, does the igniter click and spark, and does anything happen at the burner ports?
A single dead electric burner often points to the element itself or its receptacle. A single gas burner that won't light often points to the cap, clogged ports, or the igniter for that burner specifically.
For electric, try swapping that burner's element with a same-size one from another position. For gas, check that the burner cap is seated correctly and listen for the igniter clicking.
If you smell gas, stop using the range immediately and see the safety steps below. For electrical issues, don't test voltage at the receptacle or switch yourself.
What Can Cause This Problem?
Electric: burner element itself has failed
A plug-in coil element that's developed an internal open circuit won't glow or heat even though it looks physically fine, and a visibly warped, arced, or split element has failed in a way you can often see directly.
Electric: burner not seated properly in its receptacle
Plug-in coil elements connect to the cooktop through a receptacle (socket). If the element isn't fully seated, or the receptacle's contacts are worn or corroded, the connection can be intermittent or completely absent even with a perfectly good element.
Gas: burner cap not seated correctly
The burner cap sits on top of the burner base and directs gas to the ports where it ignites. A cap that's off-center, upside down, or not fully seated after cleaning can prevent proper ignition or cause an uneven, weak flame even though the burner itself is otherwise fine.
Gas: burner ports clogged with debris
The small ports around the burner where the flame comes out can clog with food debris, boil-over residue, or rust over time. A partially clogged burner often shows a weak or uneven flame on only part of the ring rather than failing to light completely.
Burner control switch or knob failure
On electric ranges, each burner is controlled by an infinite switch that regulates power; on gas ranges, the knob operates a valve that controls gas flow to that burner. A worn switch or valve can affect just one position on the cooktop while the rest work normally.
Gas: weak or failed spark igniter for that burner
Most modern gas cooktops use an electric spark igniter near each burner rather than a standing pilot. If you hear clicking but see no spark, or the spark doesn't reach the burner ports, that igniter module has likely weakened or failed for that position specifically.
Control board or switch wiring fault
If a single burner shows no response at all — no click, no spark, no element glow — even after confirming the cap, ports, and receptacle are fine, the fault may be in the wiring or control board feeding that position. This requires a technician to isolate.
What to Check First
Electric: burner swap test
SAFE FOR MOST HOMEOWNERS- How to check it
- With the range off and the burner cool, swap the non-working element with a same-size one from a working position, then test both spots.
- What the result may mean
- This single test separates a bad element from a bad receptacle without any tools.
- Normal
- The swapped element works fine in the other position, confirming the receptacle is the issue.
- Abnormal
- The problem follows the element to the new position, confirming the element itself has failed.
Electric: receptacle visual inspection
SAFE FOR MOST HOMEOWNERS- How to check it
- With the element removed and the range off, look at the receptacle (socket) for discoloration, pitting, or visible burn marks.
- What the result may mean
- A damaged receptacle needs replacement and shouldn't be tested with a live element repeatedly.
- Normal
- Contacts look clean with no discoloration.
- Abnormal
- Darkened, pitted, or burned-looking contacts.
Electric: control knob response
SAFE FOR MOST HOMEOWNERS- How to check it
- Turn the knob for the affected burner through its full range and listen/watch for a click or any element response.
- What the result may mean
- No response at all across the full range points more toward the switch than the element.
- Normal
- A distinct click at low settings, element glows when turned up.
- Abnormal
- No click at any setting, or the element never responds regardless of knob position.
Gas: burner cap seating
SAFE FOR MOST HOMEOWNERS- How to check it
- With the burner off and cool, lift the cap and check that it's the correct one for that position, sitting flat and centered on the burner base.
- What the result may mean
- A misseated cap is a common, easy-to-fix cause of poor or no ignition.
- Normal
- Cap sits flat, centered, and fully seated.
- Abnormal
- Cap is off-center, loose, upside down, or mismatched from another position.
Gas: burner port inspection
SAFE FOR MOST HOMEOWNERS- How to check it
- With the cap removed and the burner off and cool, look at the ports around the burner ring for visible clogging or debris.
- What the result may mean
- Clogged ports commonly cause a weak or uneven flame rather than a complete failure to light.
- Normal
- Ports appear clear and open.
- Abnormal
- Visible food residue, rust, or debris blocking one or more ports.
Gas: spark igniter sound
SAFE FOR MOST HOMEOWNERS- How to check it
- Turn the knob to light and listen for a rapid clicking sound near that burner.
- What the result may mean
- No clicking for that specific position points toward the igniter module or its wiring for that burner.
- Normal
- A steady, rapid click until the burner lights.
- Abnormal
- No click at all, or a slow/weak click.
Gas: flame appearance once lit
SAFE FOR MOST HOMEOWNERS- How to check it
- If the burner does light, look at the flame from a safe distance.
- What the result may mean
- An uneven flame with successful ignition points toward clogged ports rather than an ignition problem.
- Normal
- Even, steady blue flame around the full ring.
- Abnormal
- Flame present on only part of the ring, or yellow/orange and sputtering.
Switch or receptacle electrical testing
DO NOT ATTEMPT- How to check it
- Requires a multimeter and testing continuity or voltage at the switch or receptacle.
- What the result may mean
- Confirms a failed switch or wiring fault definitively, but involves line-voltage components and should be done by a technician.
- Normal
- N/A
- Abnormal
- N/A
Step-by-Step Checks
1. Identify fuel type and confirm it's isolated to one burner
Turn on the other burners briefly to confirm they work normally. If only one position is affected, that narrows the problem to that burner's element, receptacle, cap, ports, or igniter rather than something range-wide.
2. Electric — swap the element
With the range off and the element cool, lift it out and swap it with a same-size element from a working position. Test both spots. If the problem follows the element, it's failed. If the original position still doesn't work with a known-good element, the receptacle is the likely cause.
3. Gas — check the cap and clean the ports per your manual
With the burner off and cool, lift the cap and confirm it's the correct one for that position and sitting flat and centered. If ports look clogged, clean them following your owner's manual's guidance — usually a soft brush or a straight pin for individual ports, no disassembly of the burner base or gas line involved.
4. Gas — listen for the igniter
Turn the knob to the light position and listen for a rapid clicking sound at that specific burner. No clicking at that position (while other burners click normally) points toward the igniter module or its wiring for that spot.
5. Check the control knob across its full range
Turn the knob slowly through low, medium, and high, watching or listening for a response at each point. No response anywhere suggests the switch (electric) or valve (gas) rather than the element or burner itself.
Look, Listen, Observe
look
- Discolored or pitted contacts inside an electric burner receptacle — Indicates receptacle damage, which needs replacement rather than another element swap.
- A burner cap that's clearly a different size or shape than the ones on other positions — Caps can get swapped between positions during cleaning — mismatched caps cause ignition and flame problems.
- Visible black or rust-colored debris around gas burner ports — A common, safe-to-clean cause of a weak or uneven flame.
- An electric element with a visible split, bulge, or arc mark — Confirms the element itself has failed.
listen
- Clicking at every burner except the one that won't light — Isolates the igniter fault to that specific position rather than a range-wide ignition problem.
- No click anywhere on the range when trying to light any burner — Points toward a shared power or ignition module issue rather than one burner.
observe
- Electric burner glows on high but not on low settings — Can point toward the infinite switch rather than the element itself.
- Flame present around most of the ring but missing from one section — Typically a localized clogged port rather than a full ignition failure.
Easy Things You Can Try
- Swap electric burner elements — Move a same-size element from a working position to the affected one (range off, element cool) to quickly tell whether it's the element or the receptacle.
- Reseat the gas burner cap — Lift it off and set it back down centered and flat, making sure it's the correct cap for that position.
- Clean gas burner ports per your manual — With the burner off and cool, gently clear visible debris from the ports using a soft brush or the tool your manufacturer recommends.
- Wipe down electrical contacts — With the range unplugged or off at the breaker, wipe visible dust from an accessible receptacle area with a dry cloth — don't use any liquid near electrical contacts.
Technician Tips
The element swap test is one of the fastest, most reliable DIY diagnostics we recommend — it takes two minutes and tells you definitively whether to expect an element replacement or a receptacle repair.
A misseated or swapped burner cap is a surprisingly common call after a deep cleaning — always worth checking before assuming anything has actually failed.
Clicking that happens at every other burner except one usually means the igniter module or its wiring for that specific position, not a range-wide ignition system problem — this narrows the visit considerably.
Diagnostic Tricks
- SAFE FOR MOST HOMEOWNERS
The element swap test doubles as a receptacle test — if the known-good element also fails in the suspect position, you've confirmed the receptacle without needing a multimeter.
- SAFE FOR MOST HOMEOWNERS
Compare the exact clicking rhythm between a working burner and the affected one — a slower or weaker click (versus none at all) can point toward a partially failing igniter rather than a fully dead one.
- ADVANCED — BETTER FOR A TECHNICIAN
Continuity testing on the burner switch or receptacle gives a definitive reading beyond visual inspection, but this involves line-voltage components and should be left to a qualified technician.
Error Codes
Many ranges and cooktops show a code for this on the display if they have one. Codes vary significantly by brand and model, so check yours against the manufacturer's manual, or see our [Appliance error code guide](/blog/appliance-error-codes) for commonly documented codes. Appliance error code guide.
Can I Fix This Myself?
Swapping electric elements, checking cap seating, cleaning gas burner ports per the manual, and listening for the igniter are all safe for most homeowners.
Interpreting a partial-response knob or an igniter that clicks weakly takes some familiarity, and confirming a switch or receptacle fault for certain still generally needs a technician.
Replacing a burner switch or receptacle, or any testing of live electrical components or the gas valve/igniter module, should go to a qualified technician.
What Not to Do
- Don't disassemble the gas burner valve or attempt to access the gas line to troubleshoot a burner that won't light.
- Don't force a burner cap that doesn't seem to fit — confirm you have the correct cap for that position instead.
- Don't use excessive force or metal tools to clear burner ports beyond what your owner's manual recommends — this can damage the burner and isn't necessary for normal debris.
- Don't test voltage or continuity at the receptacle or switch yourself — this is line-voltage electrical work for a qualified technician.
When to Stop Troubleshooting
- You smell gas at any point — stop using the range immediately, ventilate the area, and call your gas utility or a professional right away.
- A gas burner lights unevenly or with a mostly yellow flame even after cleaning the ports per the manual.
- An electric burner element or receptacle shows visible arc marks, melted plastic, or scorching.
- You've swapped the element, confirmed the cap and ports, and listened for the igniter, and the burner still doesn't work.
Don't Replace Parts Yet
A single non-working burner narrows things down nicely to that position, but electric and gas burners each have several components that can produce the exact same symptom — an element and a receptacle look identical from the outside on an electric range, and a bad igniter and a clogged port can both prevent a gas burner from lighting cleanly. Replacing an element or an igniter module without confirming which one is actually at fault means paying for a part that may not fix it. A technician can usually isolate the exact cause with the same swap and inspection checks covered here, plus the electrical or gas testing that isn't safe to do yourself.
Frequently Asked Questions
This usually isolates the problem to that specific burner's element and receptacle (electric) or cap, ports, and igniter (gas), rather than a range-wide issue, since the other burners are working normally.
Still not sure what's causing the problem?
Professional diagnosis can help identify the actual cause before replacing parts unnecessarily.