
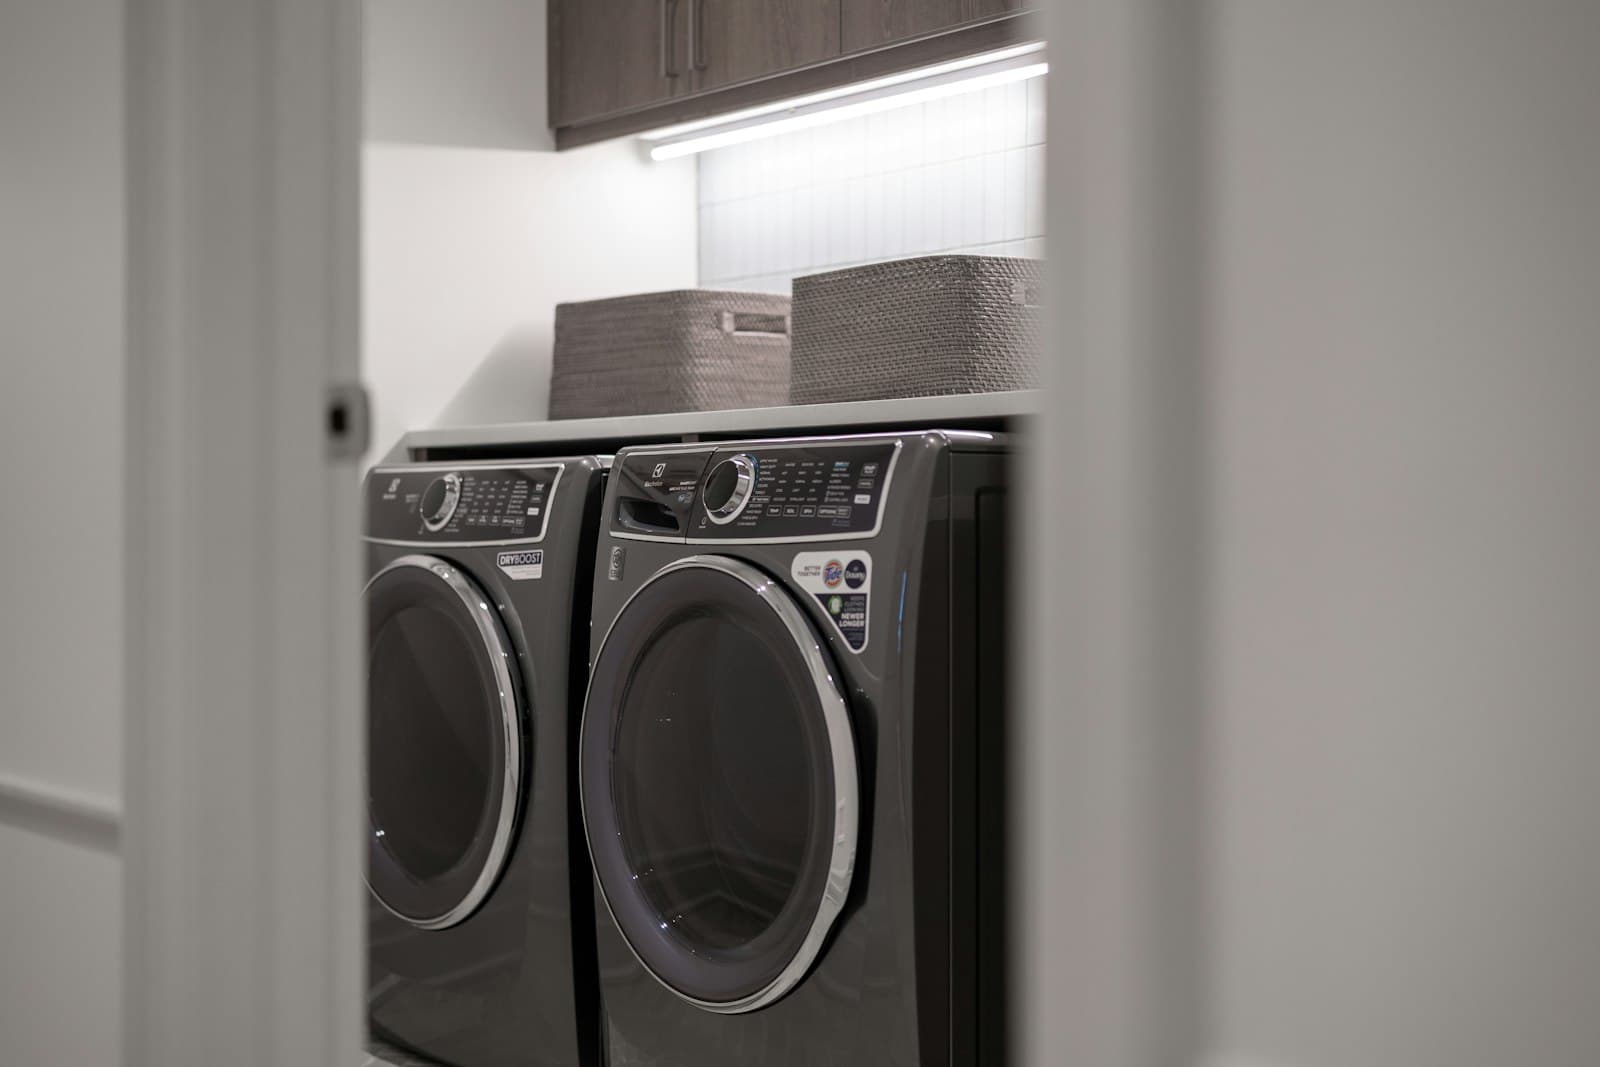
Where the water first appears tells you almost everything: the front of the machine, underneath it, and the dispenser drawer each point toward a different part of the system.
Quick Diagnosis
Water is appearing on the floor around or under the washer, either during a cycle or after it finishes.
Run a short cycle and watch closely for exactly where the water first shows up — front, underneath, or from the dispenser drawer.
Water at the front of a front-load washer, pooling underneath the whole machine, and dripping from the dispenser drawer are three genuinely different problems, not variations of the same one.
Front-of-door leaks usually point to the door gasket. Underneath leaks usually point to hoses or the pump area. Dispenser drawer leaks usually point to the dispenser or the water inlet valve.
Check the door gasket fold for debris, check hose connections at both ends, and check detergent amount — all safe, all covered below.
If water is pooling near an outlet or power cord, or the leak is getting worse quickly, stop and call for service.
What Can Cause This Problem?
Torn, dirty, or misaligned door gasket (front-load)
The rubber gasket that seals the door on a front-load washer has a fold at the bottom that traps small items, coins, and lint over time. A buildup in that fold, a tear in the rubber, or a section that's pulled away from the drum opening will let water leak out around the door during the wash and rinse steps.
Loose or worn supply hose connections
The hot and cold water supply hoses connect at the wall valves and at the back of the machine. Over years, the rubber or fiber washers inside these fittings can dry out and lose their seal, or the connections can simply loosen from vibration, producing a slow drip that's easy to miss since it's tucked behind the machine.
Damaged or loosely connected drain hose
A cracked drain hose, or one that's simply not clamped securely at the pump connection or the standpipe, can leak specifically during the drain step when water is actively being pushed through it — this often shows up as water appearing only at certain points in the cycle rather than continuously.
Oversudsing from too much or the wrong detergent
Excess suds don't just affect draining — they can physically push past the door seal or back up through the dispenser drawer during the wash step, especially with non-HE detergent in an HE machine. This tends to look like a leak but is really an overflow caused by foam volume.
Clogged or dirty detergent dispenser drawer
Detergent and fabric softener residue build up inside the dispenser housing over time, which can restrict normal water flow through it and cause water to back up and overflow out of the drawer opening instead of flushing through into the tub as designed.
Drain pump seal or housing leak
The pump itself has a seal where the motor shaft meets the housing, and a worn or degraded seal can leak slowly, usually most visible right around the pump area underneath the machine, and often only during or right after the drain step when the pump is actively running.
Tub seal or bearing area leak
On front-load washers, the seal around the tub's bearing area can wear out over years of use, letting water seep past it, often most noticeable during the spin cycle when centrifugal force pushes water outward. Confirming and repairing this typically requires removing the drum, which is a significant disassembly job.
What to Check First
Where the water first appears
SAFE FOR MOST HOMEOWNERS- How to check it
- Run a short wash cycle with a small load and watch closely, checking every few minutes, for exactly where the first sign of water shows up.
- What the result may mean
- The location narrows the cause significantly — front of door points to the gasket, underneath points to hoses or pump, dispenser drawer points to the dispenser or inlet valve.
- Normal
- No water appears anywhere outside the machine.
- Abnormal
- Water appears at the front of the door, underneath the cabinet, or from the dispenser drawer.
Door gasket fold (front-load)
SAFE FOR MOST HOMEOWNERS- How to check it
- Open the door and run your fingers gently along the fold at the bottom of the rubber gasket, checking for trapped debris or tears.
- What the result may mean
- Debris in the fold or a torn gasket both prevent the door from sealing fully during the cycle.
- Normal
- The fold is clean and the rubber is intact with no tears.
- Abnormal
- Coins, hair ties, or lint packed into the fold, or a visible tear or separation from the drum frame.
Supply hose connections
SAFE FOR MOST HOMEOWNERS- How to check it
- Check both ends of the hot and cold supply hoses — at the wall valves and at the back of the machine — for tightness and visible moisture.
- What the result may mean
- A slow drip at either connection point is a common, often overlooked source of what looks like a bigger leak.
- Normal
- Connections are snug and dry.
- Abnormal
- Visible dampness, mineral buildup, or a connection that feels loose when gently turned.
Drain hose connection and condition
SAFE FOR MOST HOMEOWNERS- How to check it
- Check the drain hose clamp at the pump connection (if accessible) and inspect the length of the hose for cracks or splits.
- What the result may mean
- A compromised drain hose typically leaks specifically during the active drain step rather than continuously.
- Normal
- The hose is intact with no cracks, and the clamp is snug.
- Abnormal
- Visible cracking, especially near the ends, or a loose/missing clamp.
Detergent amount and dispenser condition
SAFE FOR MOST HOMEOWNERS- How to check it
- Check your detergent amount against the cap line, and pull out the dispenser drawer to look for built-up residue.
- What the result may mean
- Oversudsing and dispenser buildup can both cause water to overflow rather than flow through normally.
- Normal
- Using the recommended amount, and the dispenser compartments are relatively clean.
- Abnormal
- Regularly overfilling detergent, or a dispenser drawer coated in dried residue.
Area underneath and around the pump
ADVANCED — BETTER FOR A TECHNICIAN- How to check it
- With the machine unplugged, access the front panel (model-dependent) and look at the area directly around the drain pump housing.
- What the result may mean
- This pattern points toward a pump seal leak rather than a hose or gasket issue.
- Normal
- The pump housing and surrounding area are dry.
- Abnormal
- Visible moisture or mineral staining concentrated right at the pump housing.
Tub seal / bearing area
ADVANCED — BETTER FOR A TECHNICIAN- How to check it
- Checking the tub seal typically requires removing the front panel and, on many models, the drum itself to inspect the bearing area directly.
- What the result may mean
- If the leak is confirmed to happen specifically during spin and every simpler source has been ruled out, this becomes the leading possibility — but confirming it is a significant disassembly job.
- Normal
- N/A
- Abnormal
- N/A
Step-by-Step Checks
1. Watch a full cycle to find where the water starts
Run a short cycle with a small load and check the machine every few minutes rather than waiting until the end. Note whether water shows up at the front of the door, in a puddle underneath the whole unit, or dripping from the dispenser drawer — this single observation does more to narrow the cause than anything else.
2. Clean and inspect the door gasket fold
Open the door and run a cloth around the entire fold at the bottom of the rubber seal, removing any trapped coins, lint, or hair ties. While you're at it, check the rubber itself for tears or spots where it's pulled away from the frame — a damaged section will need to be replaced rather than cleaned.
3. Check both ends of the supply hoses
Look at where the hot and cold hoses connect at the wall and at the back of the washer. Hand-tighten each connection (don't overtighten plastic fittings) and check for dampness or white mineral buildup, which usually indicates a slow, ongoing drip.
4. Check the drain hose clamp and look for cracks
If you can access the drain hose connection at the pump, confirm the clamp is snug and not loose or missing. Run your hand along the length of the hose feeling for brittleness or visible cracks, especially near the ends where it flexes most.
5. Clean the detergent dispenser drawer
Pull the dispenser drawer all the way out (most slide out with a small release tab) and rinse it thoroughly under warm water, using an old toothbrush to clear built-up residue from the compartments and the housing it slides into.
6. Cut back on detergent for a few cycles
If you've been using more than the cap line recommends, or a non-HE detergent in an HE machine, reduce to the recommended amount and watch whether the leak improves or stops appearing at the door or dispenser.
Look, Listen, Observe
look
- Water pooling specifically at the base of the front door — Points toward the door gasket not sealing fully, often due to debris in the fold or a tear.
- A puddle spreading out from underneath the entire cabinet — Points toward a hose connection, the drain hose itself, or the pump area rather than the door.
- Water dripping from the detergent dispenser drawer opening — Points toward a clogged dispenser or a water inlet valve issue rather than the tub or door.
- Suds visible along the bottom edge of the door during the wash step — Suggests oversudsing is pushing foam past the seal rather than a torn gasket.
- Mineral staining or white crust at a hose connection — Indicates a slow, ongoing drip that's been happening for a while, even if it's not obviously wet right now.
observe
- Leak only happens during the fill step — Points toward a supply hose or the water inlet valve area rather than the drain hose or pump.
- Leak only happens during the drain or spin step — Points toward the drain hose, the pump seal, or on front-loaders, potentially the tub seal.
- Leak happens throughout the entire cycle regardless of step — More consistent with a door gasket that isn't sealing at all, rather than a leak tied to one specific function.
- Leak has gotten worse over several weeks — Suggests a wearing component (gasket, hose, seal) rather than a one-time event like a stray sock stuck in the door.
Easy Things You Can Try
- Clean the door gasket fold — Remove trapped debris from the fold at the bottom of the rubber seal and wipe it dry so it can seal fully again.
- Hand-tighten supply hose connections — Check both ends of the hot and cold hoses and snug them up if loose, without overtightening plastic parts.
- Clean the detergent dispenser drawer — Remove it and rinse away built-up detergent and fabric softener residue with warm water and an old toothbrush.
- Reduce detergent to the recommended amount — Switch to the correct amount of HE detergent if you've been using more than the cap line suggests.
- Replace worn rubber washers in supply hose fittings — If a connection is damp even after tightening, the small rubber washer inside the fitting may be worn and is an inexpensive part to replace.
Technician Tips
Where the water first appears is the single most useful piece of information for narrowing a leak — front of the door usually means the gasket, underneath usually means a hose or the pump, and from the dispenser drawer usually means the dispenser or inlet valve, and these rarely overlap in practice.
An oversudsing leak has a distinct look: foam visibly pushing out around the door seal or up through the dispenser drawer during the wash step, rather than clear water — that's a detergent issue, not a failed part.
A leak that only shows up during spin, especially on a front-load washer with no obvious hose or gasket issue, is one of the few patterns that points toward the tub seal or bearing area, which is a more involved repair worth confirming carefully before assuming it.
A dispenser drawer leak is often mistaken for a supply hose problem because both happen during the fill step — pulling the drawer and looking for buildup or a stuck flapper valve usually settles which one it actually is.
Diagnostic Tricks
- SAFE FOR MOST HOMEOWNERS
Line the floor around the washer with dry paper towels before running a cycle, then check them periodically during the cycle — the first place they get wet tells you where the leak originates far more precisely than checking after the fact.
- SAFE FOR MOST HOMEOWNERS
Run an empty cycle with no clothes and no detergent — if it still leaks, that rules out an oversudsing or dispenser-related cause and points more firmly toward a hose, gasket, or pump seal issue.
- SAFE FOR MOST HOMEOWNERS
Shine a flashlight into the gasket fold while gently pulling it back to check for debris or tears that aren't visible at a casual glance.
- ADVANCED — BETTER FOR A TECHNICIAN
Removing the front access panel to inspect the pump area and hose connections directly gives a much clearer picture than guessing from outside, but involves partial disassembly and is a reasonable point to hand off to a technician.
Error Codes
Many washers show a code for this on the display. Codes vary significantly by brand and model, so check yours against the manufacturer's manual, or see our [Appliance error code guide](/blog/appliance-error-codes) for commonly documented codes. Appliance error code guide.
Can I Fix This Myself?
Cleaning the door gasket fold, tightening supply hose connections, cleaning the dispenser drawer, and adjusting detergent amount are all safe for most homeowners and resolve a large share of leaks.
Inspecting the drain hose connection at the pump or accessing the area around the pump housing takes removing an access panel and being comfortable putting it back correctly.
A suspected tub seal or bearing area leak requires significant disassembly, often removing the drum itself, and should be confirmed and repaired by a technician.
What Not to Do
- Don't keep running cycles once you've spotted a leak near the machine's electrical connections or power cord — water and electrical components are a genuine hazard together.
- Don't overtighten plastic hose fittings trying to stop a drip — this can crack the fitting and turn a slow leak into a fast one.
- Don't use bleach or harsh chemicals in the dispenser hoping to "clear" a clog you haven't actually identified — clean the drawer manually first and see if that resolves it.
- Don't ignore a small, occasional leak for weeks assuming it will stay small — a worn gasket or hose connection typically gets worse, not better, over time.
When to Stop Troubleshooting
- Water is pooling near an electrical outlet, power cord, or any exposed wiring.
- The leak is worsening noticeably from one wash to the next.
- You've cleaned the gasket, tightened hoses, and cleaned the dispenser, and water is still appearing in the same spot.
- The leak only happens during spin and you've ruled out the door, hoses, and dispenser.
- You'd need to remove the front panel or the drum itself to see the source directly.
Don't Replace Parts Yet
Water showing up around a washer can come from several different points that all end up looking the same by the time it reaches the floor — a door gasket, a loose hose fitting, a clogged dispenser, oversudsing, or a worn pump seal can all produce a puddle in roughly the same area. Replacing a door gasket or a hose before actually confirming where the water starts often means paying for a part that wasn't the source, while the real leak point keeps dripping. Watching closely for exactly where the water first appears, as covered above, is what actually tells you which system is involved before any part gets replaced.
Frequently Asked Questions
Water appearing underneath the machine usually points to a supply hose connection, the drain hose, or the pump area rather than the door — checking hose connections at both ends is a good first step.
Still not sure what's causing the problem?
Professional diagnosis can help identify the actual cause before replacing parts unnecessarily.