
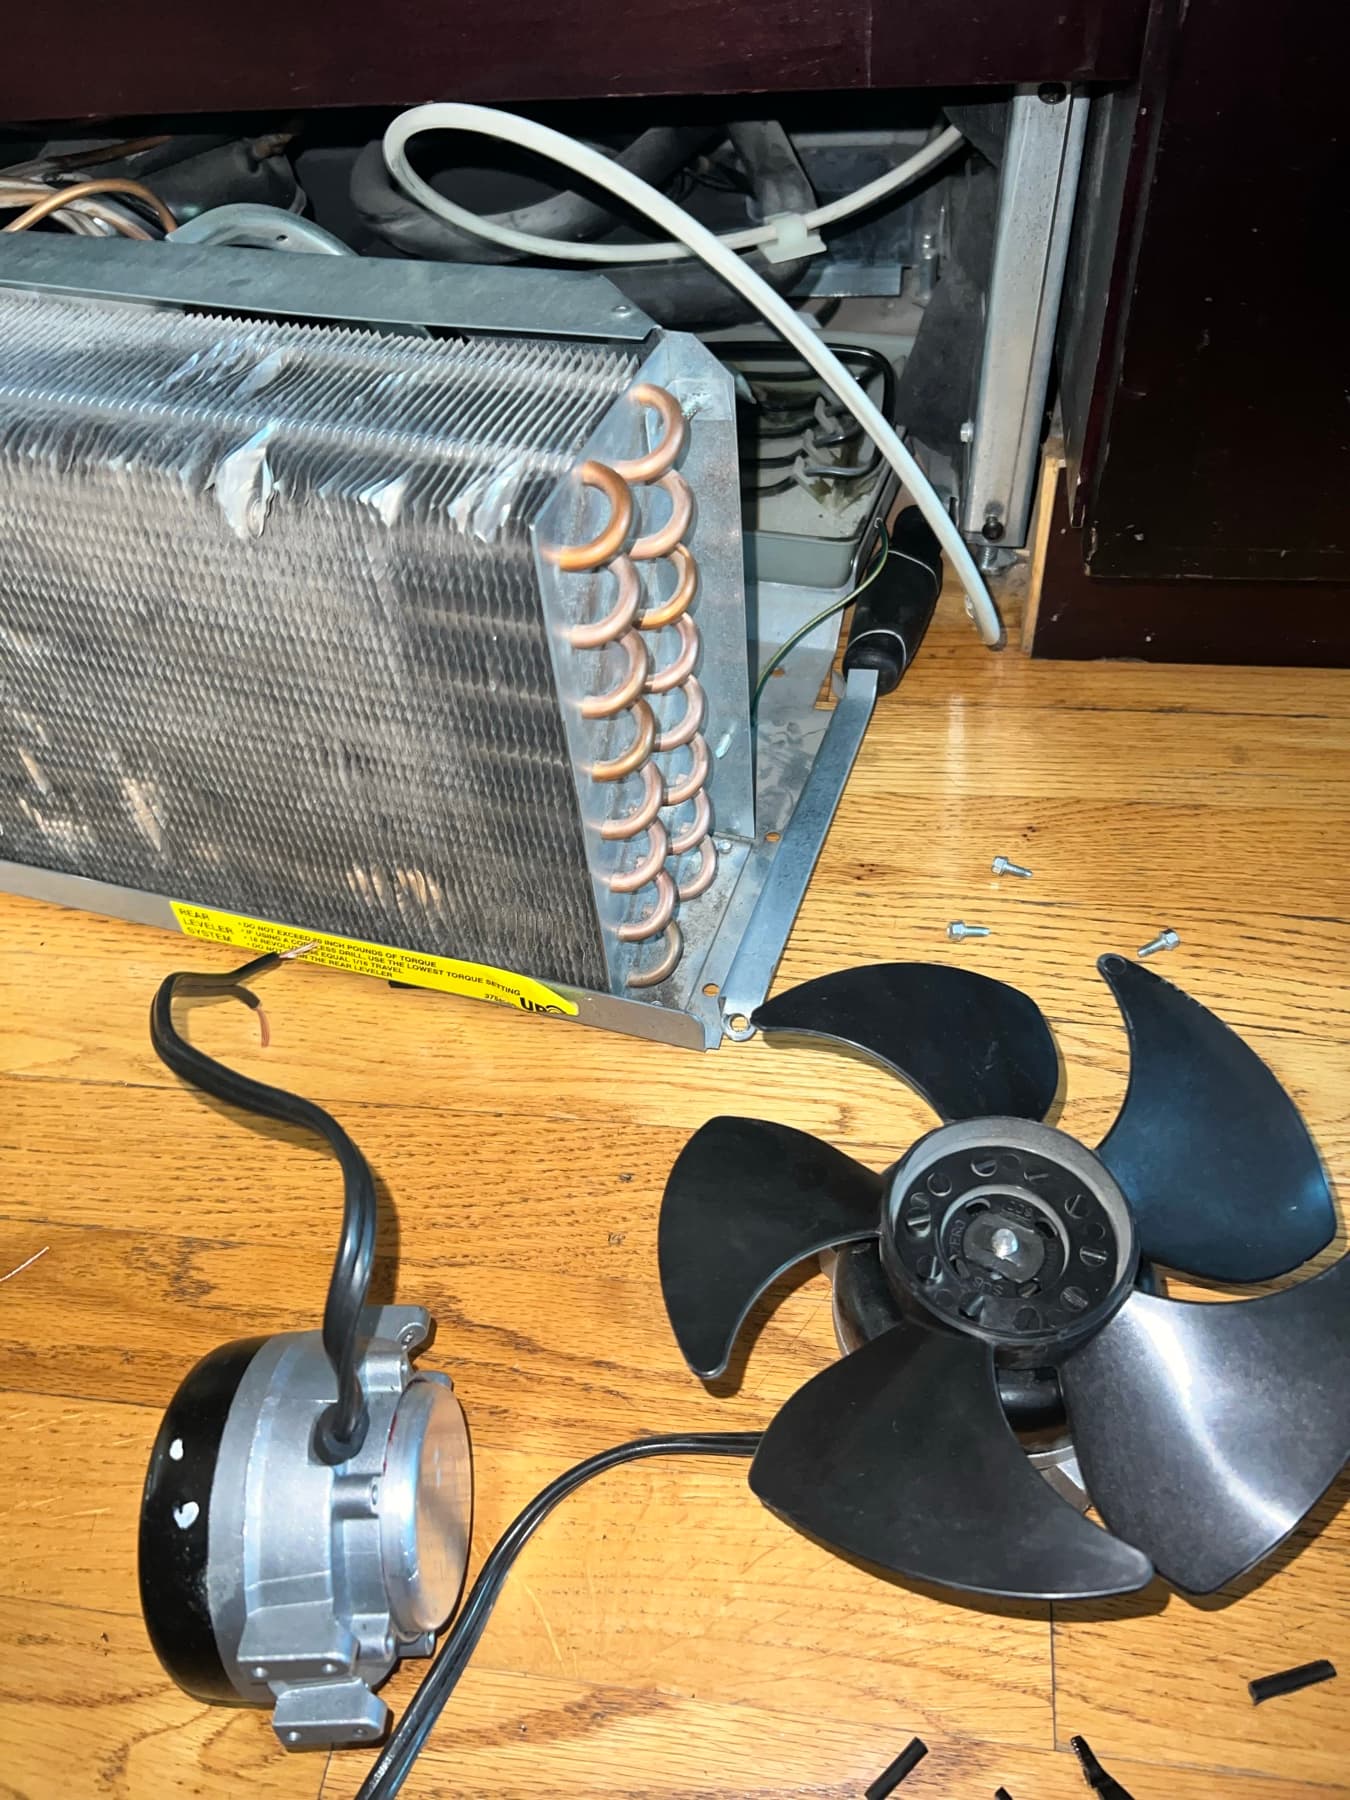
A puddle under the crisper drawers means something different than a puddle in front of the unit. Here's how to localize where the water is actually coming from before doing anything else.
Quick Diagnosis
Water is pooling somewhere — inside the cabinet, under the crisper drawers, or on the floor in front of or underneath the unit.
Is the water inside the fridge, or is it outside the cabinet on the floor?
Water inside near the bottom points one direction; water underneath or in front of the unit on the floor points another.
Inside-the-cabinet water usually traces to the defrost drain. Water under or in front of the unit usually traces to the drain pan, water line connections, or the unit being unlevel.
Check the freezer floor drain hole, look at the drain pan underneath, and inspect the water filter area — all covered below.
If you see water actively dripping near an electrical outlet or the power cord, or find a line fitting that's clearly leaking under pressure, stop and call for service.
What Can Cause This Problem?
Clogged or frozen defrost drain
A small drain hole at the bottom of the freezer compartment carries defrost meltwater down to a pan underneath the unit. Food debris, spilled liquids, or ice buildup can block that hole, so instead of draining down, the water backs up and overflows inside the freezer or fresh-food compartment — the single most common cause of water appearing inside the cabinet.
Water filter housing not seated fully, or a cracked housing
The water filter compartment has a seal (often an O-ring) that can wear out, get pinched during a filter change, or simply not seat correctly if the new filter isn't pushed in and locked all the way. Even a small gap here lets water seep out slowly with every use of the dispenser or ice maker, often showing up as dampness near the filter compartment rather than an obvious puddle.
Loose or damaged ice maker water line fitting
The line that supplies water to the ice maker connects at the back of the refrigerator with a compression fitting. Vibration over time, a fitting that was never fully tightened during installation, or a kink in the line can all lead to a slow drip right at that connection, which tends to show up as water underneath the unit near the back rather than inside the cabinet.
Door gasket not sealing, causing condensation
When the door doesn't seal completely, warm humid kitchen air continuously enters the cabinet and condenses on cold interior surfaces. This isn't a true leak in the mechanical sense, but it can look like one — moisture beading on interior walls, dripping down, and collecting at the bottom of the compartment or under the crisper drawers, especially in summer.
Drain pan cracked, overflowing, or knocked out of position
The pan underneath the refrigerator collects defrost water so it can evaporate gradually from compressor heat. A pan that's been jarred out of position (often from moving the unit to clean behind it), cracked, or simply too full because it's not evaporating fast enough will let water spill onto the floor instead of staying contained.
Refrigerator not level
Refrigerators are designed to sit slightly tilted back so any water directed toward the drain pan stays there rather than running forward. A unit that's level or tilted slightly forward — common after moving it to clean or after settling on uneven flooring — can send water toward the front of the unit onto the floor instead.
Disconnected or kinked drain tube, or evaporator icing over
In some models the drain tube runs partly behind an interior panel or down inside the unit before reaching the pan; a tube knocked loose or kinked there requires disassembly to find. Separately, a bigger defrost system fault can let frost build up excessively on the evaporator coil, and when it does periodically melt, it can overwhelm the drain pathway and overflow well beyond what a clogged drain hole alone would produce.
What to Check First
General location of the water
SAFE FOR MOST HOMEOWNERS- How to check it
- Note exactly where the water appears — inside the cabinet near the bottom, under the crisper drawers, or on the floor in front of or behind the unit.
- What the result may mean
- Inside-the-cabinet water and outside-the-cabinet water point toward different systems, so this is the first thing to establish.
- Normal
- N/A — this is a localization check, not a pass/fail test.
- Abnormal
- N/A
Freezer floor drain hole
SAFE FOR MOST HOMEOWNERS- How to check it
- Look at the bottom of the freezer compartment for a small drain hole, often near the back. Check for visible ice or debris blocking it.
- What the result may mean
- A blocked defrost drain is the most common reason water shows up inside the cabinet.
- Normal
- Hole is clear, no ice or debris visible.
- Abnormal
- Hole is iced over or packed with food debris.
Drain pan underneath the unit
SAFE FOR MOST HOMEOWNERS- How to check it
- With the unit unplugged, remove the front kick plate (or access panel, depending on model) to view the drain pan.
- What the result may mean
- A damaged or displaced drain pan lets water reach the floor instead of evaporating as designed.
- Normal
- Pan is intact, properly seated, and not overflowing.
- Abnormal
- Pan is cracked, sitting crooked, or full of standing water.
Water filter compartment
SAFE FOR MOST HOMEOWNERS- How to check it
- Open the filter housing (location varies by model — often inside the fridge or at the base grille) and check for dampness around the seal.
- What the result may mean
- A filter seal that isn't seated correctly leaks slowly with each use rather than all at once.
- Normal
- Dry, filter seated fully and locked in place.
- Abnormal
- Damp or wet around the housing, or filter doesn't lock in securely.
Ice maker line fittings behind the unit
SAFE FOR MOST HOMEOWNERS- How to check it
- With the unit pulled out (unplugged first), visually inspect the water line connection at the back — do not disconnect it.
- What the result may mean
- A leaking line fitting typically shows up as water on the floor near the back of the unit, not inside the cabinet.
- Normal
- Fitting is dry with no visible moisture or corrosion.
- Abnormal
- Visible dampness, mineral buildup, or an active drip at the fitting.
Door gasket and condensation pattern
SAFE FOR MOST HOMEOWNERS- How to check it
- Run the paper-strip test around the door gasket (close the door on a strip of paper at several points and check for resistance), and note whether the leak worsens in humid weather.
- What the result may mean
- A poor seal drives condensation buildup, which can pool and look like a mechanical leak even though it isn't one.
- Normal
- Gasket seals fully all the way around; leak doesn't track with humidity.
- Abnormal
- Gasket gaps in spots; leaking gets noticeably worse in summer or humid conditions.
Refrigerator level, front-to-back and side-to-side
SAFE FOR MOST HOMEOWNERS- How to check it
- Use a level placed on top of the unit, or check the adjustable front feet against the floor.
- What the result may mean
- A unit that's not tilted correctly can send drain water toward the front instead of into the pan.
- Normal
- Unit sits level side-to-side and tilts very slightly back, per manufacturer spec.
- Abnormal
- Unit is level or tilts forward.
Drain tube behind an interior or rear panel
ADVANCED — BETTER FOR A TECHNICIAN- How to check it
- Tracing the drain tube from the freezer drain hole to the pan may require removing an interior back panel or pulling the unit fully away from the wall.
- What the result may mean
- If every check above comes back normal and water is still appearing, a disconnected or kinked drain tube further inside the unit becomes the leading possibility, and it takes more disassembly to confirm.
- Normal
- N/A
- Abnormal
- N/A
Step-by-Step Checks
1. Determine inside vs. outside the cabinet
Before touching anything, note precisely where the water is: inside the fridge or freezer near the floor of the compartment, or outside the cabinet on the kitchen floor, and whether it's toward the front or the back of the unit. This one observation does more to narrow the cause than almost anything else you'll check.
2. Check and clear the freezer drain hole
Locate the drain hole at the bottom of the freezer compartment (check your manual if you're not sure where it is). If it's blocked with ice, a turkey baster of warm (not boiling) water poured directly into the hole can often clear it. If it's blocked with debris, a pipe cleaner or a length of soft tubing can help dislodge it gently — avoid anything rigid or sharp that could damage the drain tube below.
3. Pull the unit out and inspect the drain pan
Unplug the refrigerator, then either remove the front kick plate or carefully pull the unit away from the wall, depending on your model. Check that the drain pan is seated correctly, isn't cracked, and isn't already full of standing water. Wipe it dry and clean before pushing the unit back or replacing the panel.
4. Inspect the water filter compartment
Open the filter housing and check that the filter is seated and locked in fully — most twist or push into place with a distinct stop. Look at the O-ring or seal for cracking or debris that could be preventing a full seal, and reseat or replace the filter if anything looks off.
5. Check the door seal and the unit's level
Run the paper-strip test around the door gasket at several points. Separately, check that the refrigerator sits level side-to-side and tilts very slightly backward — most models have adjustable front feet for this. Both affect where water ends up even when nothing is actually broken.
Look, Listen, Observe
look
- Water pooling specifically under the crisper drawers — Classic sign of a clogged or frozen defrost drain sending water into the cabinet instead of down to the pan.
- A puddle that grows slowly under the front of the unit over several days — Points toward the drain pan overflowing or the unit not being level, rather than a sudden line failure.
- Water appearing right after using the ice or water dispenser — Suggests the water line or dispenser tubing itself, not the defrost drain system.
- Dampness concentrated right around the filter compartment — Points toward the filter seal rather than the drain or ice maker line.
- Beads of condensation on interior walls or around the door gasket — Often a seal/humidity issue rather than a true mechanical leak — worth ruling out before assuming a part failed.
observe
- Leaking gets noticeably worse in summer or humid weather — Points toward condensation from a door seal issue rather than a drain or line problem.
- Water shows up on a regular cycle, roughly once a day — Often tracks with the automatic defrost cycle, pointing toward the drain system.
- Leak started right after a filter change — Points toward the filter not being seated fully rather than a coincidence.
Easy Things You Can Try
- Clear the freezer drain hole — Flush it with warm (not boiling) water using a turkey baster, and clear debris gently with a pipe cleaner if needed.
- Reseat or replace the water filter — Make sure it's pushed and locked in fully, and check the seal for cracking or debris.
- Level the refrigerator — Adjust the front feet so the unit sits level side-to-side and tilts very slightly backward, per your manual.
- Clean and dry the drain pan — With the unit unplugged, wipe out the drain pan and confirm it's seated correctly before closing the panel back up.
Technician Tips
Whether the water shows up inside or outside the cabinet is the single most useful piece of information you can give a technician over the phone — it immediately separates drain-side problems from water-line or leveling problems.
A puddle that reappears in the exact same spot on a predictable schedule usually points toward the drain pan or the unit's level, while a leak with no obvious pattern points more toward a line fitting.
A leak that only shows up during hot, humid stretches and disappears in cooler weather is very often condensation from a door seal issue rather than anything mechanical — worth ruling out before assuming a drain or line has failed.
Placing dry paper towels in a few suspect spots overnight and checking them in the morning is a simple way to confirm exactly where water is originating before a technician even arrives, since visible puddles can travel a surprising distance from the actual source.
Diagnostic Tricks
- SAFE FOR MOST HOMEOWNERS
Lay dry paper towels near the drain pan, the filter compartment, and the back water line connection overnight, then check each one in the morning — whichever is wet first tells you where to focus.
- SAFE FOR MOST HOMEOWNERS
Pour a small amount of water directly down the freezer drain hole and watch how quickly it clears — a slow drain confirms a partial clog even before it's fully blocked.
- SAFE FOR MOST HOMEOWNERS
Check for water stains or discoloration on the floor or cabinetry leading back toward a source — dried mineral trails often show the exact path water has been taking.
Error Codes
Many refrigerators show a code for this on the display. Codes vary significantly by brand and model, so check yours against the manufacturer's manual, or see our [appliance error code guide](/blog/appliance-error-codes) for commonly documented codes. Appliance error code guide.
Can I Fix This Myself?
Clearing the freezer drain hole, reseating the water filter, leveling the unit, and cleaning out the drain pan are all safe for most homeowners and resolve a large share of leak calls.
Pulling the unit fully away from the wall to inspect the drain pan and water line fittings closely is doable but takes some care, especially with the water line still connected.
Opening the household water supply line connection, working behind interior panels to trace a drain tube, or addressing a defrost system fault causing evaporator icing all call for a technician.
What Not to Do
- Don't ignore water that keeps appearing near an electrical outlet or the power cord — treat that as a stop-and-call situation, not something to keep monitoring.
- Don't overtighten a water line fitting trying to stop a drip — the compression fittings used on these lines can crack under too much force, turning a slow leak into a real one.
- Don't use anything rigid or sharp to clear the freezer drain hole — it's easy to puncture the drain tube below and turn a clog into a bigger repair.
- Don't disconnect the household water supply line yourself without shutting off the water first — a line under pressure can spray water into the wall or cabinetry.
When to Stop Troubleshooting
- Water is pooling near an electrical outlet or the refrigerator's power cord.
- You find an active drip from a line fitting or from behind a wall panel that isn't just condensation.
- You've checked the drain hole, drain pan, filter compartment, door seal, and level, and water is still appearing with no clear source.
- There's a persistent musty or mildew smell suggesting a leak has been happening out of sight for a while.
Don't Replace Parts Yet
Refrigerator leaks can come from several different sources that all end up looking like "water on the floor" or "water inside the fridge" from a distance — the defrost drain, the water filter seal, the ice maker line, the drain pan, or simple condensation from a door seal. Replacing a water inlet valve or a drain pan without first localizing exactly where the water is originating means there's a real chance the actual source, like a partially clogged drain hole, keeps producing the same puddle afterward. Tracing the water to its source the way this guide walks through is what actually solves it — and if it's still not obvious after that, a technician can pinpoint it faster than continued guessing.
Frequently Asked Questions
It's usually one of a few things: a clogged or frozen defrost drain sending water into the cabinet, a loose ice maker line fitting, a cracked or overflowing drain pan underneath, or the unit not sitting level. Where exactly the water appears — inside vs. underneath — narrows it down quickly.
Still not sure what's causing the problem?
Professional diagnosis can help identify the actual cause before replacing parts unnecessarily.